SoDa – A Software Defined Radio for Dongles, Plutos, and USRPs.
SoDaRadio is a multi-mode VHF/UHF/Microwave radio transceiver application for Linux. It was developed originally for the Ettus USRP series and has been tested on severalmodels including the N200/WBX, N210/WBX, N210/SBX, N200/UBX, B210, and B200mini.
But as the USRP line became less affordable, other options entered the market. The Analog Devices ADALM/Pluto offers really good bang-per-buck and is built on the same chip as is found in the USRP B2xx series. At the other end of the spectrum there are actual owners of very high-end USRPs like the N320 that wanted SoDaRadio.
And then there are all those folks with the really cool $30 RTLSDR dongles.
So SoDaRadio runs on hardware spanning the range from a $30 SDR dongle to a $30,000 lab instrument.
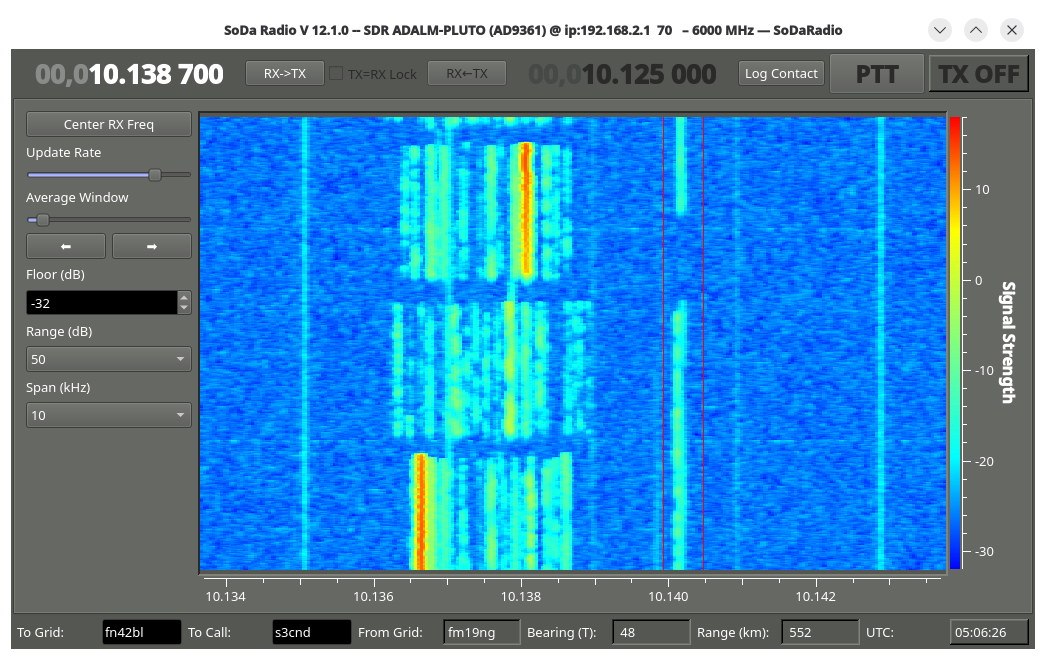
It looks like this:
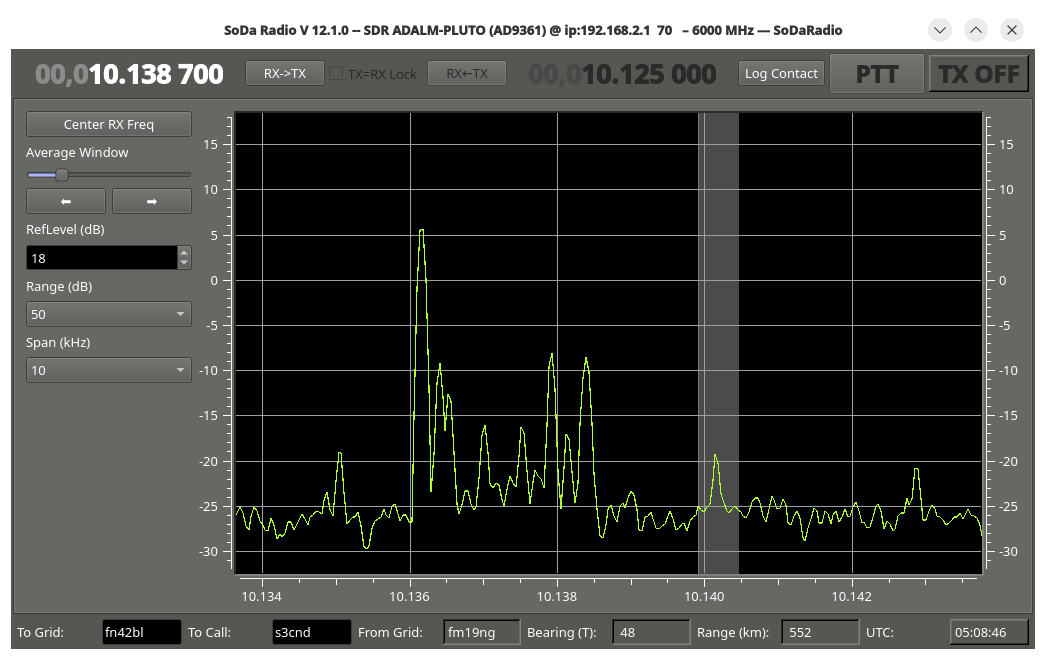
 or this:
 The captures were from SoDaRadio running on an ADALM/Pluto connected to
a Ham-it-up transverter.
The captures were from SoDaRadio running on an ADALM/Pluto connected to
a Ham-it-up transverter.
SoDaRadio is released under the BSD 2-Clause license.
Interested in more detail? Take a look at the documentation here. “SoDa – A Multimode VHF/UHF Software Defined Radio” was presented at the 40th Eastern VHF/UHF Conference in 2014.
Interested in how SoDaRadio got here?
Getting SoDaRadio
You have two choices here.
You may build SoDaRadio from scratch using git and cmake. This really does work rather smoothly on Fedora and Ubuntu systems.
git clone https://github.com/kb1vc/SoDaRadio.git
And then look at the README.md for all there is to know.
Installing from a kit
Kit installs are pretty simple. Download the appropriate package, and install with the normal installer for your OS.
Fedora
Watch this space…
Ubuntu
Watch this space.